
More information and the possibility to apply for a test account: https://www.shipxpert.com/anfrage-shipxpert-web/
Initial Setup
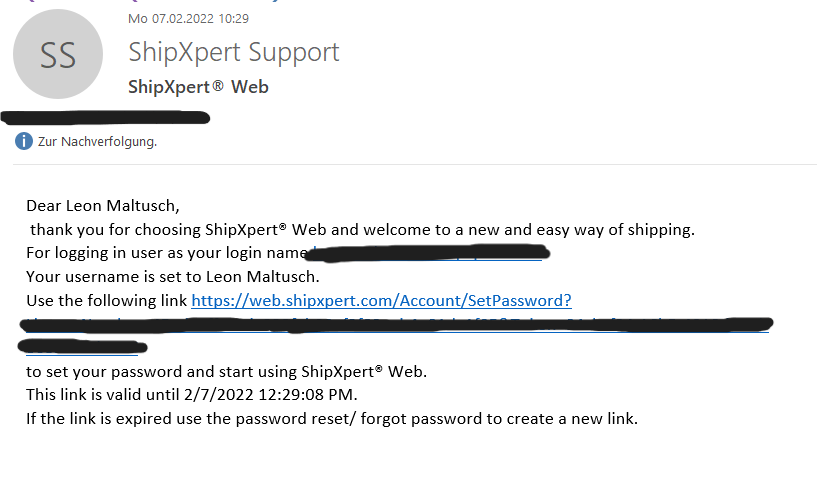
- After activation, click on the link in the email you received from us to set a password .
- After setting a password, you will land in the Settings section of ShipXpert Web. First, Create a new client and connect to the database of your ERP system.
Notice:
Depending on the ERP system, additional steps may need to be taken. If you are unsure, please ask either your ERP specialist dealer or us directly. - Go into your settings and change your cloud alias to something easier to remember (company name makes sense) with your new cloud alias you can use this URL: https://<yourcloudalias>.shipxpert.online to connect to your ShipXpert Web
- After the client has been created, select which receipt types are intended for shipping (and optionally for returns) via the receipt selection.
- Next, enter the login data of your transport service providers under Forwarders.
Notice:
Information on how to obtain the login data can be found on the respective page of the transport service provider on our help page. The best way to do this is to use the search function at the top right. - ShipXpert Web is now ready to use.
All information about the functions and settings can be found on the subpages of this help page.
You can grant additional employees access via user management.